CEED
The CEGUI unified editor. Includes project management and multi-file/multi-tab editing.
Contents
Install
CEED from the v0-8 branch (and all snapshots) depend on CEGUI 0.8. Even though it may work with CEGUI "default" it is not tested with it so don't expect any help if you try to make it work that way.
Original post at the forums (very old, don't use!)
Dependencies
You need CMake, Python >= 2.6 (preferably Python 2.7), PyOpenGL, PySide (+ utils/tools), Boost.Python.
Debian Wheezy
PySide is part of Sid at the moment, so you have to add its repository address to your /etc/apt/sources.list
apt-get install cmake python-opengl pyside-tools boost-python
Arch Linux
You need at least python2, boost, python-opengl, pyside (AUR), pyside-tools (AUR). PySide will bring in several other packages and will probably take a few hours to compile.
Note: You probably need to add "-DPYTHON_EXECUTABLE=/usr/bin/python2" (without the quotes) to the cmake command line below because Arch Linux defaults to python 3 but the python modules CMake script expects python2.
Arch Linux has the entire ceed packaged, see the AUR repo and save yourself all this trouble.
Fedora
You need boost-devel, python-devel, python-opengl, python-pyside, pyside-tools
Build CEGUI and PyCEGUI
(Or get it from distribution repo and skip this)
hg clone https://bitbucket.org/cegui/cegui
hg clone https://bitbucket.org/cegui/ceed
cd ceed
hg update v0-8
cd ../
cd cegui
hg update v0-8
cd ../
mkdir cegui/build
cd cegui/build
cmake -DCEGUI_BUILD_PYTHON_MODULES=ON -DCEGUI_BUILD_RENDERER_OPENGL=ON -DCEGUI_BUILD_RENDERER_OPENGL3 ../
Renderers
CEED requires the OpenGL2 renderer to be enabled. This is what it uses to function. However in CEGUI 0.8 you have to enable both OpenGL2 and OpenGL3 renderers for the bindings to work correctly.
Make sure "CEGUI_BUILD_RENDERER_OPENGL" and "CEGUI_BUILD_RENDERER_OPENGL3" are both enabled before you build CEGUI.
Launch
cd ../ceed
cd bin
./runwrapper.sh
./ceed-gui
or
$ cd ../ceed/bin
$ PYTHONPATH=../../cegui/build/lib:../:$PYTHONPATH python2 ./ceed-gui
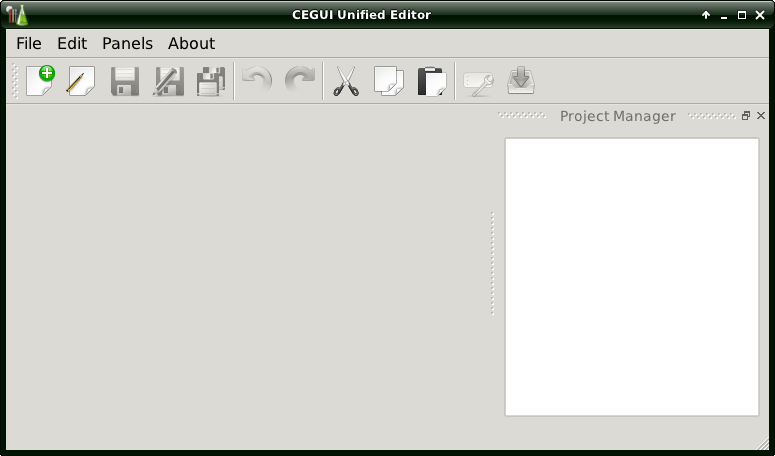
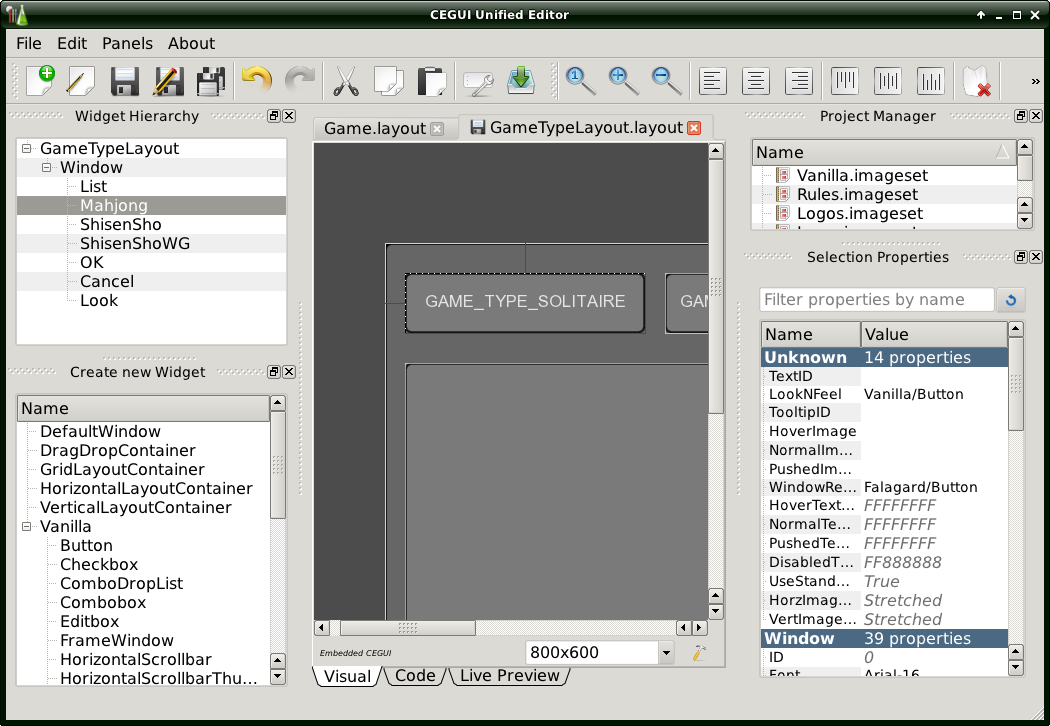
You will see a window like this:
Troubleshooting
- If it fails to import ceed.ui.* then you need to compile UI files, call
[ceed] ./maintenance compile-ui-files
Or alternatively edit ceed/version.py and set CEED_developerMode to True.
- If the data files are missing you need to run the 'maintenance' script like this:
[ceed/bin]$ cd ..
[ceed]$ ./maintenance fetch-datafiles
Project
Unlike old editors (CELayoutEditor and CEImagesetEditor), CEED has a notion of a project. Each project has its own combination of resources and runs its own CEGUI version to render your CEGUI resources. This allows you to have more that one scheme loaded at a time.
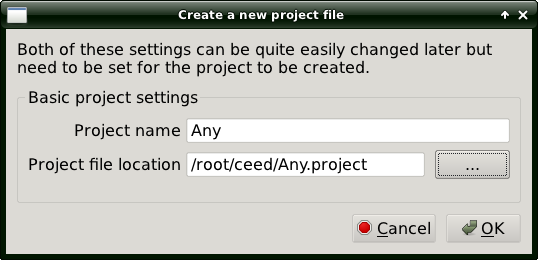
To create a new project, you should go to File -> New project.
The dialog appears. You should input project name and location of the ".project" file. Note: parent directory of the ".project" file must exist.
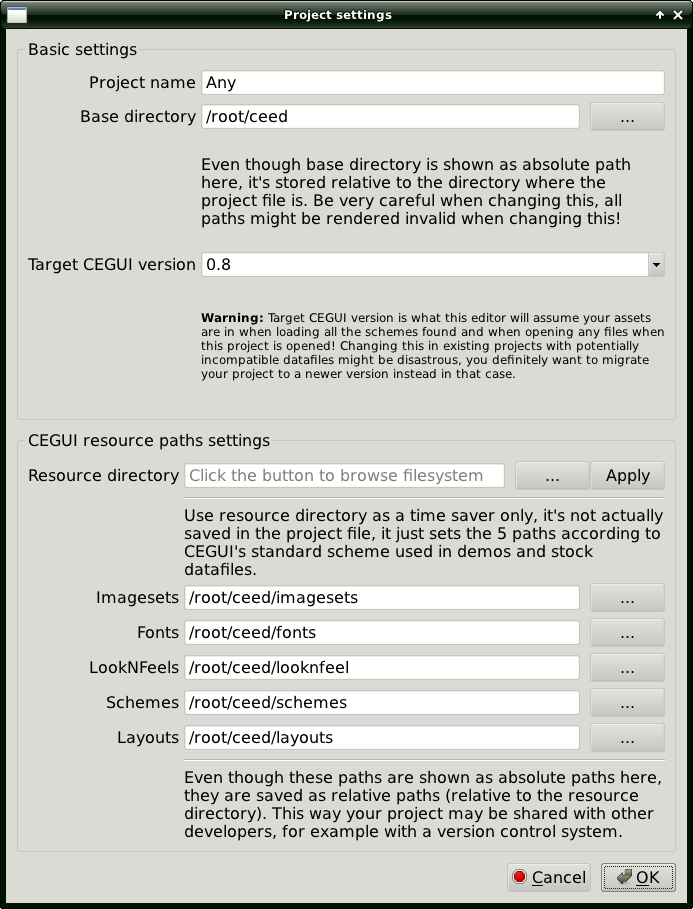
After you press OK, Project settings window appears.
Project settings
(The window is also accessible from Edit -> Project settings)
CEED can create assets for CEGUI versions: 0.6 to 0.8. 0.7 is the latest stable, so select it.
Point "Resource directory" to the place where "fonts", "schemes" and the rest directories are located, then press Apply. It will change the paths below.
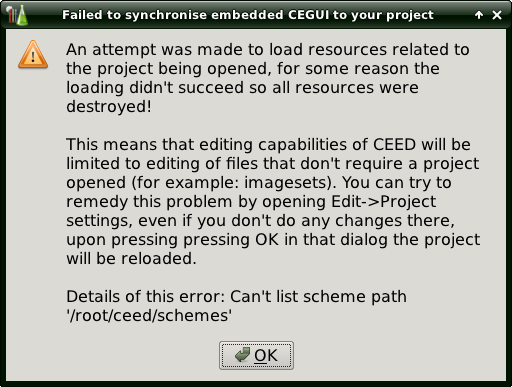
Press OK and will load your resources. If it fails to, it will show you a warning dialog:
In our case, the resource directory does not have "schemes" subdirectory, as noted on the last line. Correct the paths and retry.
Project resources
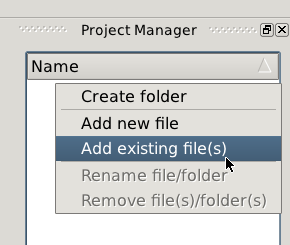
Currently CEED can only work with imagesets and layouts. Add them to your project by clicking with the right mouse button on Project manager and selecting Add existing file(s):
Select the necessary imagesets and layouts, and save the project.
Layouts
To create a new widget, drag it from the left bottom panel.
To edit it, you can either do it visually, or switch to "Code" tab seen below, and edit it manually. There's also "Preview" tab, where you can test your layout in real time.
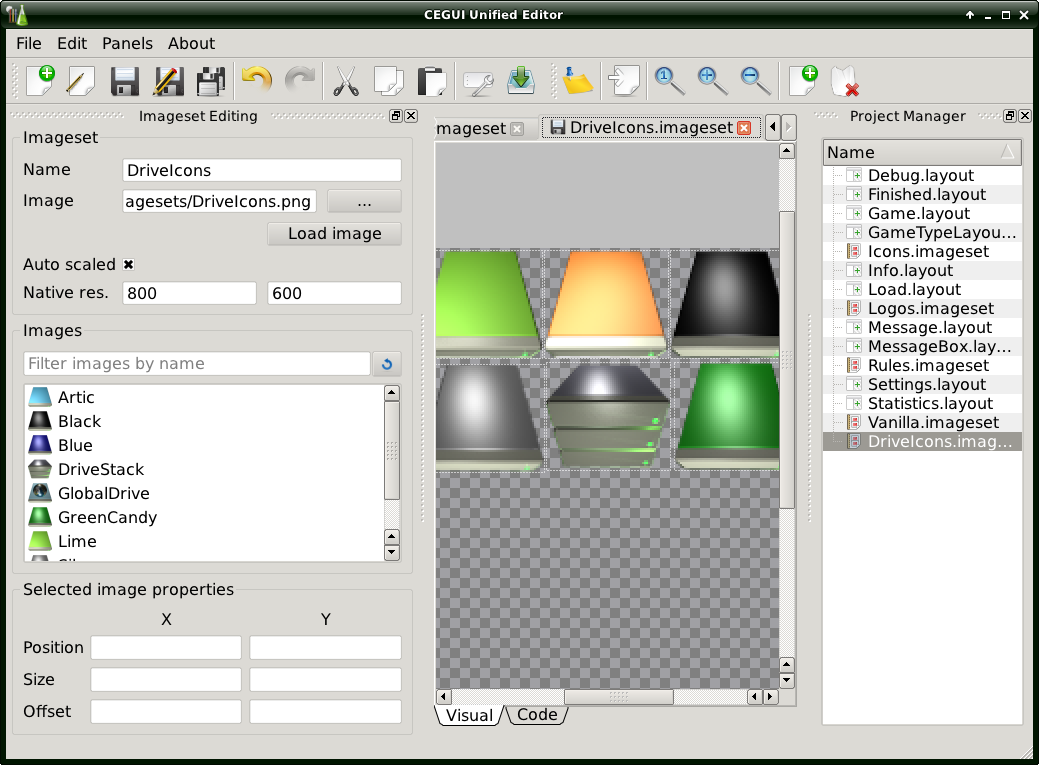
Imagesets
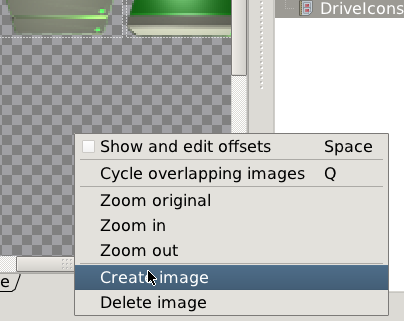
To create a new image, press tool bar button second from the right, or click with the right mouse button on the image itself and select Create image:
It creates a 50 x 50 rectangle centered at where mouse cursor is. Move and resize it as you see fit.
Settings
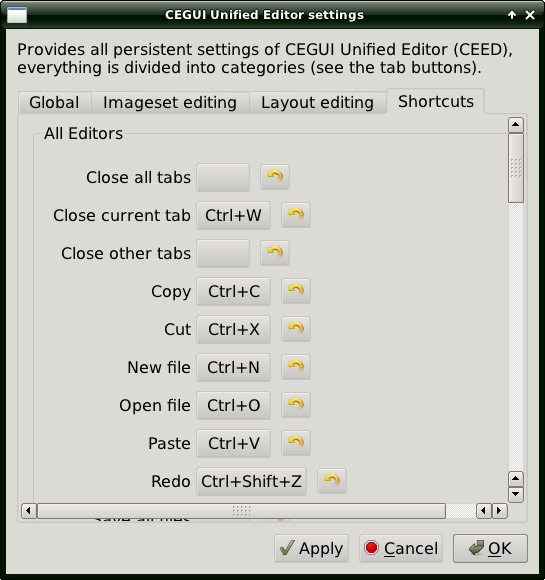
Go to Edit -> Application settings.
There are many settings you can tweak. One of the most important might be Shortcuts. It allows you to assign shortcuts to zoom, image creation, opening a project, and so on.
Notes
Currently you may have problems with Imagesets that use TGA, since some versions of Qt may be built without TGA support. CEGUI 0.8 has all imagery as PNG (CEGUI 0.7 used TGA), and we advise you to use PNG instead of TGA.
